This tutorial was written by Dianna Richards of Digicats (and Dogs). Any resemblance to any other tutorial, published or unpublished, living, dead or undead, is purely coincidental.
Please do not rebroadcast, redistribute or otherwise claim this tutorial or any part there of as your own work.
Items you will need to complete this project:
The Gothic Abby taggers kit by Scraps by j0eswife. This kit is available for purchase at Digital Chaos and at Stargazer Scraps.
Tube of choice. I am using psp13063-SCUVD_Ophidian Priestess by Unholy Vault Designs. You must have a licenses to use this tube which maybe purchased at MyPSPTubes.com.
Cameron's Fractal 4 Mask, which you can download HERE.
Font of choice.
The Rose Arbor freebie from Aussie Scraps, which you can download HERE. (Don't forget to leave a thank you.)
Note that H# and V# refer to Horizontal and vertical coordinates on your canvas grid. Make sure you have View, Rulers checked in order to see the ruler grid.
When I say "Add to your canvas" I expect that you will copy and paste it as a new layer, unless otherwise state in the tutorial.
This tutorial assumes you have a working knowledge of PSP. It was written using PSP X1, but should work in PSP 8 and up.
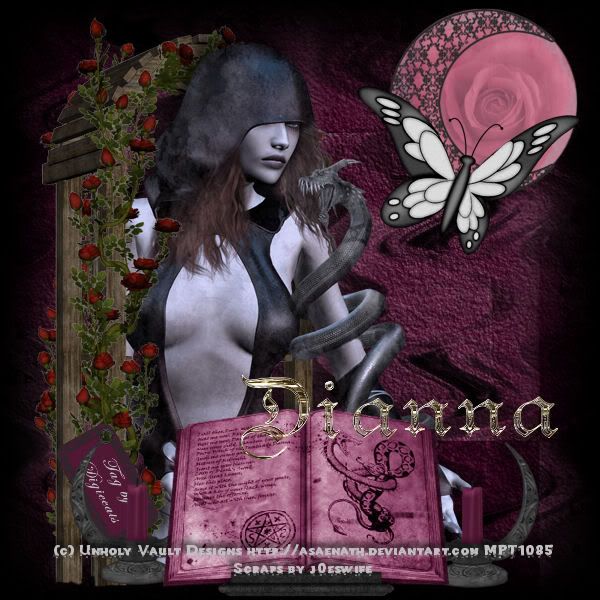
To begin, open a new raster canvas, 800 x 800 pxls, flood fill white.
Open SBJ Paper 31, and resize to 80%.
Select -- Layers -- Load/Save Mask -- Load Mask from Disk and locate Cameron Fractal Mask 4. Make sure the "Fit to Canvas" and the "Invert Transparency" boxes are checked, then click on load.
Select -- Layers -- Merge -- Merge Group, then add to your main canvas, centered.
Open SBJ_Moon1. Resize to 50% and add to canvas, centered at H650, V150.
Open Arbor Freebie and add to canvas, centered at H250, V450.
Resize your canvas to 75% (600 x 600) pxls.
Open psp13063-SCUVD_Ophidian Priestess (or tube of choice). Click on the tube layer to activate, then copy and paste to your canvas, centered.
Duplicate arbor freebie and on the layers pallet, drag the copy over the tube. Using your selection tool (set to rectangle) select the right hand side of the arbor from H150, V550, to H350, V550. Press your delete key.
Select None.
On your layers pallet, click on the arbor layer (Raster 3) to active. From the Rose arbor freebie, open Roses 2, resize by 75% and add to the canvas, centered at H180, V290.
On the layers pallet, return to your top layer (copy of raster 2). From the Rose Arbor Freebie, open Roses 1, and resize by 75%. Add to the canvas, centered at H130, V300.
Open SBJ_Candle 2, resize to 40% and add to the canvas, centered at H140, V515 and again at H470, V515.
Open SBJ_Stone Lectern with Book 3. Using your selection tool, select the area around the book (see example), copy and paste to the canvas, centered at H300, V500.
Usuing your eraser tool, erase any of the bits that show below the candles and the book, including the bits of the arbor that are showing.
Click on the moon and move it backward horizontally to about H470. Open SBJ_Paper 14. Using your selection tool set to circle, take a small (200 x 200 pxl) sampling of the paper at the center. Copy and paste to you main canvas over the moon.
You will likely need to use your pick tool to resize it to the moon element.
Once you have it covering the moon, drag it under the moon layer so the lattice work is on top.
Open rose 4, resize by 50% and paste into the paper circle under the moon lat ice work. On the pallet layer, adjust the opacity to 48% (or so).
On the materials pallet, set your foreground color to clear, and your background color to #c0c0c0 (light gray). Using your font of choice and starting at H300, V550, add the copyright information to the canvas.
For the Ophidian Priestess the the copyright info is:
(c) Unholy Vault Designs http://asaenath.deviantart.com YOUR MPTLICENSE #
Scraps by j0eswife
I am using the font Creepy, set to 4 points, bold, and center. (Hint: 4 points is not on the drop down menu, so just type the number 4 into the size box.)
If your vector layers is not the top layer, use the arrange to top feature on the layers pallet to put it there.
You can also add your "Tag by" info at this point. I opted to put mine on SBJ_Tag 3 and attach it the arbor.
Add a drop shadow of choice to the tube layer. I am using Offsets of V & H -10, Opacity 60, Blur 25, color black. You might wish to add a similar drop shadow to the copyright info to make it more legible. (In this case, I am using Offsets of -5 each, opacity of 95 and blur of 10.)
open Butterfly 1, and add the the canvas, centered at H470, V170.
You can now save the artist's copy as a .pspimage.
Tanya has enclosed a lovely marble alpha in the kit, and I'm going to completely ignore it, and use the Black Gold alpha by Bizee 1 Digi-arts to add the name. You of course may add your name any way you like.
On the materials pallet, set your foreground color to #000000 (black). Click on the white background layer, and flood fill black.
Once you have done that, layers -- merge -- merge visible, and save your file as a .jpg file.
That's it! I hope you enjoyed this tutorial. If you should have a problem, please feel free to E-Mail Me and I'll be happy to help you out.
No comments:
Post a Comment