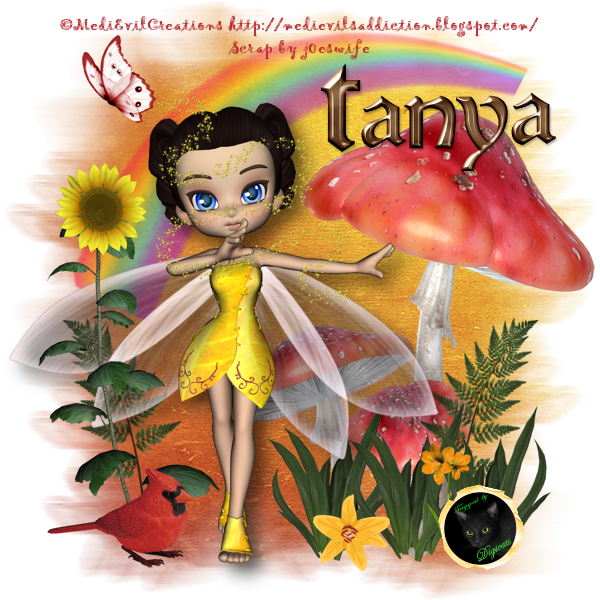
"Where the Fairies Play" is another fun mega-kit from Scraps by j0eswife, which is filled with all sorts of fairy goodness, including a collection of Fae by MediEvil Creations, a unicorn, and of course, Tanya's signature ponies.
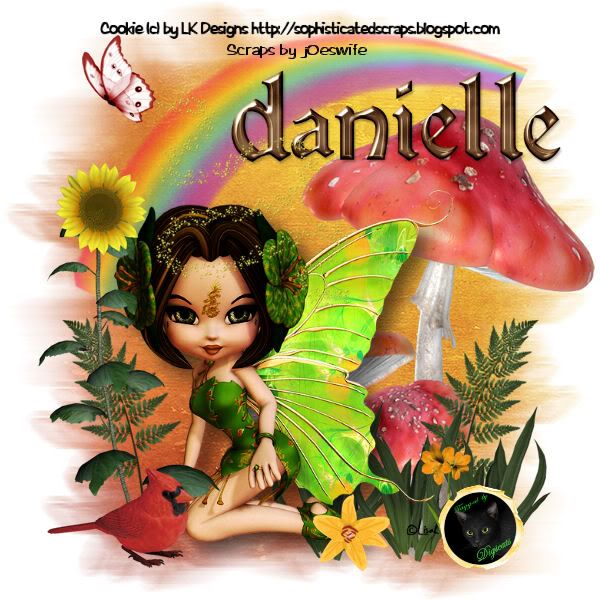
In doing this tag I strove to do something was versatile enough that you could drop just about any fairy tube or poser in it and achieve good results and I believe I've managed to accomplish that.
I've done three different version of the tag, so far. LOL! I also think I could put this together as a two layers plug and play tag. Hmmmm....
This tutorial was written by Dianna Richards of Digicats (and Dogs). Any resemblance to any other tutorial, published or unpublished, living, dead or undead, is purely coincidental.
Please do not rebroadcast, redistribute or otherwise claim this tutorial or any part there of as your own work.
Items you will need to complete this project:
The Where the Fairies Play taggers kit by Scraps by j0eswife. This kit is available for purchase at Digital Chaos and Stargazer Scraps.
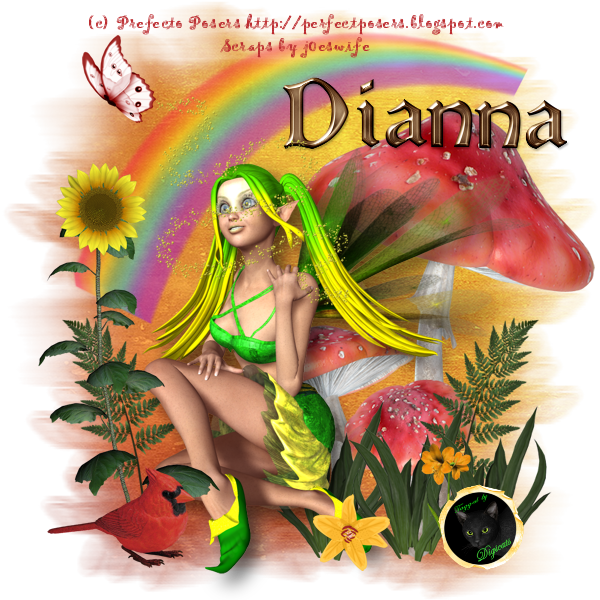
Tube of choice. This tutorial was written using the Alvarie poser by Perfect Posers, but just about any fairy tube will work.
Wee Scots Mask #260 which you can download HERE.
Font of choice.
Note that H# and V# refer to Horizontal and vertical coordinates on your canvas grid. Make sure you have View, Rulers checked in order to see the ruler grid.
When I say "Add to your canvas" I expect that you will copy and paste it as a new layer, unless otherwise state in the tutorial.
This tutorial assumes you have a working knowledge of PSP. It was written using PSP X1, but should work in PSP 8 and up.
To begin open a raster canvas, 800 x 800 pxls, Flood Fill White.
Open SBJ_Paper37 and resize by 80%.
Select -- Layers -- Load/Save Mask -- Load Mask from Disk and locate Wee Scots Lass mask # 260. Make sure the "fit to canvas" box is checked, and click on load.
Layers -- Merge -- Merge Group and add to the main canvas, centered.
Open SBJ_Rainbow 1. Resize by 45% and add to canvas, centered at H400, V240.
Open SBJ_Mushrooms1 and add to canvas, centered at H550, V450.
Open SBJ_Leafy Things 3, resize to 25% and add to canvas, centered at H650, V50. Duplicate and Mirror.
Open SBJ_Leafy Things 2, and resize to 50%. Add to canvas at H450, V650. Duplicate and move the duplicated layer to H450, V650. Duplicate again and move the duplicated layer to H650, V650.
Resized your canvas by 75% - to 600 x 600 pxls.
Open Alvarie 1 (or tube of choice). Resize by 50%, mirror and add to canvas, centered at H340, V360.
Open SBJ_Flower 15, resize to 25% and add to canvas, centered at H350, V530.
Open SBJ_Flower 11, resize to 25% and add to canvas, centered at H450, V500.
Open SBJ_Flower 17, resize to 50% and add to canvas, centered at H130, V360.
Open SBJ_Bird2, resize to 25% and add to canvas, centered at H120, V515.
Open SBJ_Butterfly 3, resize to 25% and add to canvas, centered at H120, V80.
Open SBJ_Fairy Dust 3, resize to 25% and add to canvas, centered at H250, V200.
Click on your tube layer to active it, and add a drop shadow to your tube. I am using Offsets of V&H 10 each, Opacity of 60, Blur of 25.
On the materials pallet, set your foreground color to transparent and your background color to #bc2c30 (cardinal red).
Using your font of choice, add the copyright information to the tag. I am using the font Gigi, 4 points, centered & bold. You can also add your "tag by" information at this point.
You can then save the artist's copy of your tag as a .pspimage.
Add your name to the tag using the font or alpha of your choice. I am using the Guinevere Alpha by Sarah Grimwood.
You can now either merge the layers down and save as a .jpg file, or drop the white background as save as a .png file. That's it! You're all done.
No comments:
Post a Comment