This tutorial was written by Dianna Richards of Digicats (and Dogs)/Di Before Dawn Tutorials. Any resemblance to any other tutorial, published or unpublished, living, dead or undead, is purely coincidental.
Please do not rebroadcast, redistribute or otherwise claim this tutorial or any part there of as your own work.
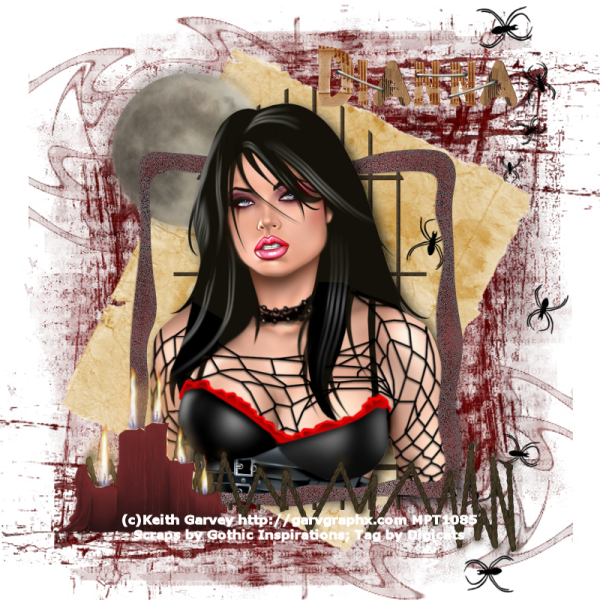
Items you will need to complete this project:
The Delusional taggers kit by Gothic Inspirations. This is a PTU kit which may be purchased at the Gothic Inspirations store.
Tube of choice. I am using psp13801-KittyKat by Keith Garvey. You must have a license to use this tube, which may be purchased at MyPSPTubes.com.
Wee Scots Lass mask #221 which you can download HERE.
Font(s) and/or alpha of choice. I am using Verdana which is a windows system font, and the Cardboard alpha by Elyane Araujo, which is a PTU alpha.
Note that H# and V# refer to Horizontal and vertical coordinates on your canvas grid. Make sure you have View, Rulers checked in order to see the ruler grid.
When I say "Add to your canvas" I expect that you will copy and paste it as a new layer, unless otherwise state in the tutorial.
This tutorial assumes you have a working knowledge of PSP. It was written using PSP X1, but should work in PSP 8 and up.
Open a new raster layer canvas, floodfilled white.
To begin open a new raster layer canvas, 800 x 800 pxls, flood fill white.
Open Paper20-GI_Delusional. Layers --> Load/Save Mask --> Load Mask from Disk and locate Wee Scots Lass Mask #221. Make sure the fit to canvas box is checked, then click on load.
Copy Merged and add to main canvas, centered.
Open Parchment-GI_Delusional, and add to main canvas, centered. Image --> Free Rotate --> Rotate Right 27 degrees.
Open Moon-GI_Delusional, resize to 50% and add to main canvas, centered at H250, V200.
Open Gates-GI_Delusional copy and add to canvas, centered.
Open Spiders-GI_Delusional and add to main canvas, centered at H650, V400.
Open psp13801-SCGarvey-KittyKat (or tube of choice) and copy the bonus closeup layer. Add to main canvas, centered.
Add drop shadow of choice. I am using Vertical & Horizontal offsets of 7, Opacity 85, blur 25, color black (#000000).
Open Frame3-GI_Delusional and add to main canvas, centered at around H400, V430, or so bottom of the frame matches the bottom of the tube.
Duplicate and on the layers pallet, drag the duplicate under the tube layer.
Return to the main frame layer (Raster 6). Using your selection tool set to Selection: Rectangle, Mode: Replace, select the top half the frame and then press the delete key.
Selections --> Select None.
Open Stitches-GI_Delusional, and add to main canvas, centerd at H400, V650.
Open CandlesMelting-GI_Delusional, resize to 50% and add to main canvas, centered at H200, V600.
On the Materials Pallet, set both your background and foreground colors to white (#ffffff). Using font of choice, add the copyright information to your tag. For the Garvey tube, that information is:
(c)Keith Garvey http://garvgraphx.com Your MPTLicense#
I am using the font Verdana, 4 points, bold and centered.
You can now save the artist's version of your tag as a .pspimage.
Using alpha or font of choice, add name of choice to tag. I am using the Cardboard alpha by Elyane Araujo, which is PTU alpha.
Once I added the alpha I used the Staple from the kit, resized to 50% to "staple" the alpha to the tag.
Delete your white background, and merge visible. Resize to 75% (600 x 600 pxls) and save as a .png file, and you're all done!
I hope you enjoyed this tutorial. If you should have a problem, please feel free to E-Mail Me and I'll be happy to help you out.
No comments:
Post a Comment