This tutorial was written by Dianna Richards of Digicats (and Dogs)/Di Before Dawn Tutorials. Any resemblance to any other tutorial, published or unpublished, living, dead or undead, is purely coincidental.
Please do not rebroadcast, redistribute or otherwise claim this tutorial or any part there of as your own work.
Items you will need to complete this project:
The Hocus Pocus kit by Crazed's Creations which is available for sale at Scrappetizing.
Tube of choice. I am using Alex Franco's Strega (the PG version). You must have a license to use this tube, which is available at MyPSPTubes.com.
Wee Scots Mask #220 which you can download HERE.
Alpha (or alphas) of choice. I am using the Creepy Faced Alpha by Nutshell Creations. For Kate's tag, I am also using the White Gunge Alpha by Dreams Fulfilled, which is a FTU alpha.
Note that H# and V# refer to Horizontal and vertical coordinates on your canvas grid. Make sure you have View, Rulers checked in order to see the ruler grid.
When I say "Add to your canvas" I expect that you will copy and paste it as a new layer, unless otherwise state in the tutorial.
This tutorial assumes you have a working knowledge of PSP. It was written using PSP X1, but should work in PSP 8 and up.
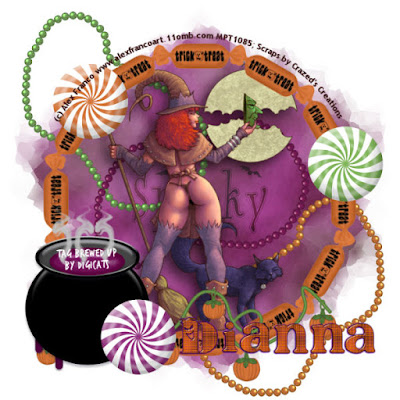
To begin, open a raster canvas, 800 x 800 pxl, flood filled white.
Open Crazeds_paper3_HPT. Select Layers --> Load/Save Mask --> Load Mask from Disk. Locate WSL Mask 220, make sure the fit to canvas box is checked, then click on load.
Edit --> Copy Merged, and add to your main canvas, centered.
Open Crazeds_Beads1, and add to canvas, centered at H230, V220.
Open Crazeds_Beads2, mirror and add to canvas centered at H580, V590.
Open Crazed_Beads3, flip and add to canvas centered at H400, V390. Image --> Free Rotate --> and rotate right, 30 degrees.
Open tube of choice, I am using PSP13697 Strega by Alex Franco. I am using the tube with elements layer and because this is a PG rated tutorial, I'm taking the optional PG thong as well.
Add to canvas centered. Add a drop shadow to your tube. I am using a vertical offset of 10, a horizontal offset of -10, opacity of 65, blur of 35 and color black (#000000).
If you are using the optional thong, you might want to merge it down onto the tube so that it doesn't get lost.
Open Crazeds_Frame1, resize to 125% and add to the canvas, centered.
Open Crazeds_Doodle, resize to 75% and add to the canvas, centered at H380, V670.
Open Crazeds_Candy4, resize to 50% and add to canvas, centered at H690, V330.
Open Crazeds_Candy5, resize to 50% and add to canvas, centered at H180, V200.
Open Crazeds_Cauldron2 and add to canvas, centered at H180, V560.
Open Crazeds_Candy6, resize to 50% and add to canvas, centered at H280, V680.
Add you copyright information and optional watermark and save the artist's copy as a .pspimage.
For the Strega tube, the copyright information is:
(c) Alex Franco www.alexfrancoart.11omb.com YOUR MPT License #
I used Font Trebuchet MS, 4 points, bold and centered, and then a drew a vector circle to the size of the frame, make the line invisible, and used the convert text to path option to run the copyright along the top of the frame.
You may, of course, do it any way you wish.
Using the alpha of choice, compose the name you wish to add to the tag on a separate, transparent raster canvas. Merge visible, and then copy and the past the name as a whole to the main canvas. Resize to taste and locate around H550, V650. Actual location will depend upon the size of the name you are using.
Resize canvas to 75% (600 x 600 pxls.) You may then either delete the white background layer and save it as a .png file, or kit the white background layer and save it as a .jpg. That's it...your Hocus Pocus tag is finished!
I hope you enjoyed this tutorial. If you should have a problem, please feel free to E-Mail Me and I'll be happy to help you out.
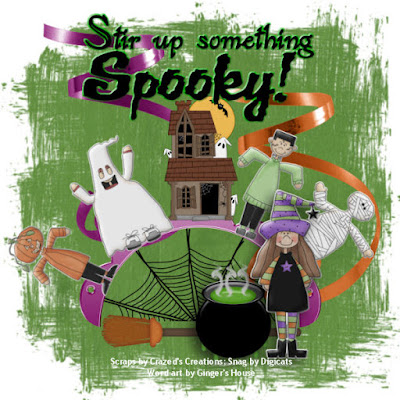
Here is a snag for you using the Hocus Pocus kit:

The word art is courtesy of Ginger's House. Enjoy!
No comments:
Post a Comment